28 Basic Violin Bowing Terms
Bow technique definitions you encounter when you start playing the violin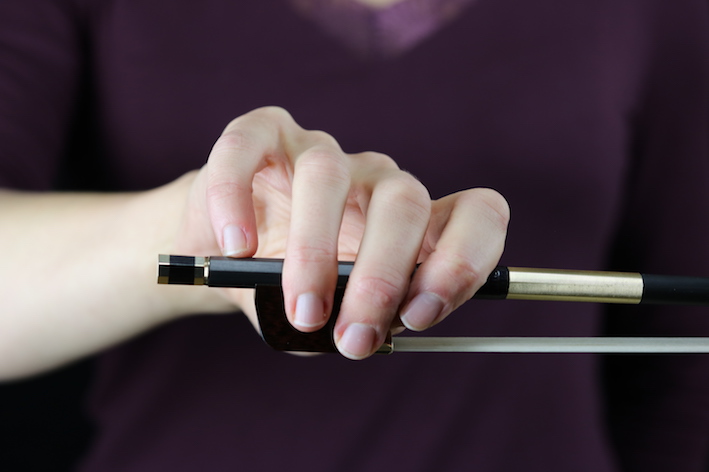
Bow Hold
This is the way you hold the bow in your hand. The two most common bow holds are the Franco-Belgian bow hold and the Russian bow hold. I go into detail how to develop a proper and natural bow hold, so you can bow smoothly with a great sound, in this video.
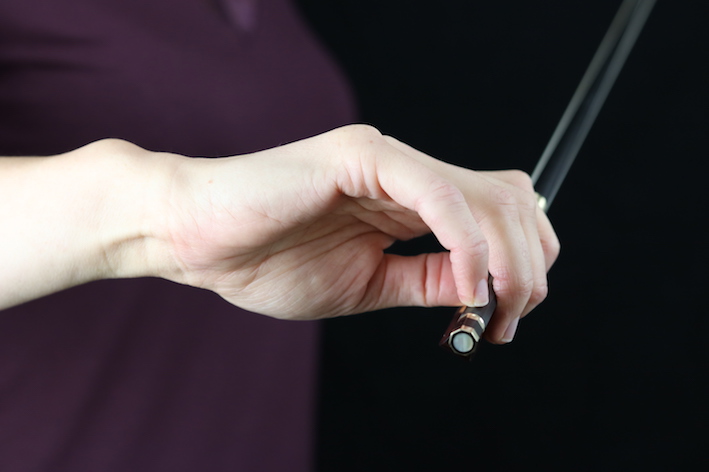
Finger action
The movements in the fingers of the bow hand while bowing to smoothen the bow changes, make actions or give impulse to jumping bowing techniques.
Down-bow symbol
Up-bow symbol
Bow Direction
Down-bow
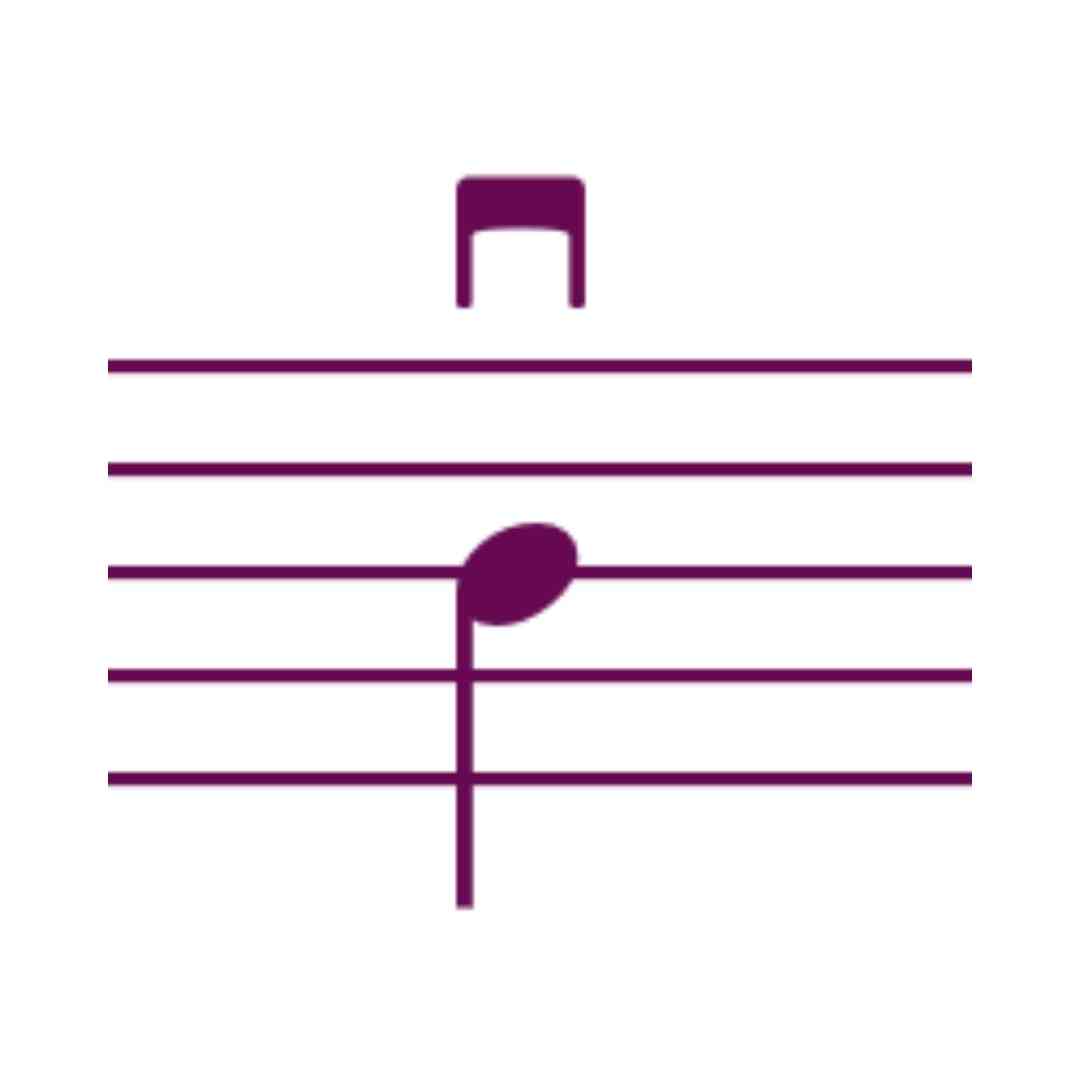
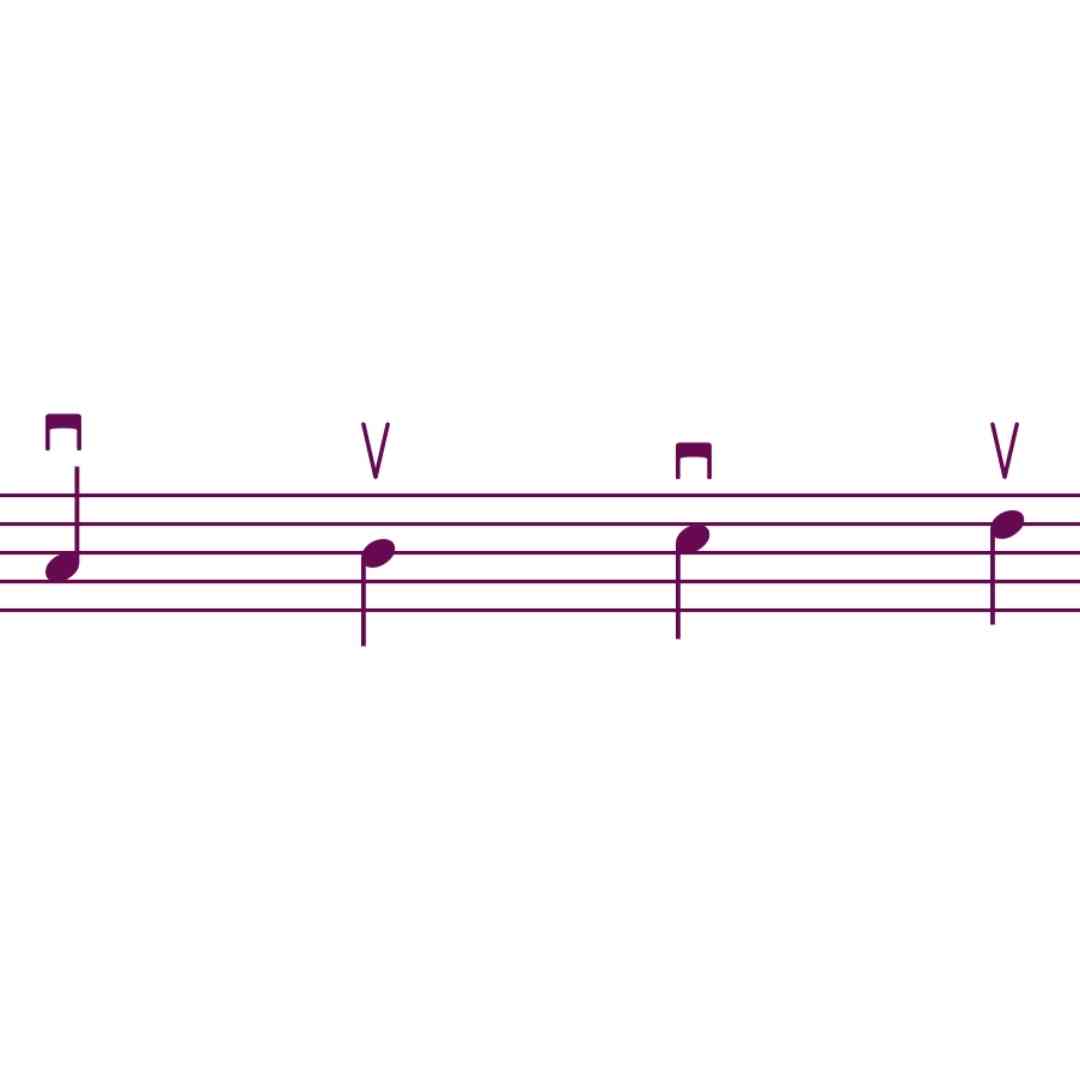
On the violin we can bow from frog (the heel where you hold the bow) to the tip. This is called down-bow. If this is indicated in the sheet music, a symbol is used that resembles the frog. The down-bow can begin all the way at the frog, but also in the upper part of the bow. It just indicates the direction.
Up-bow
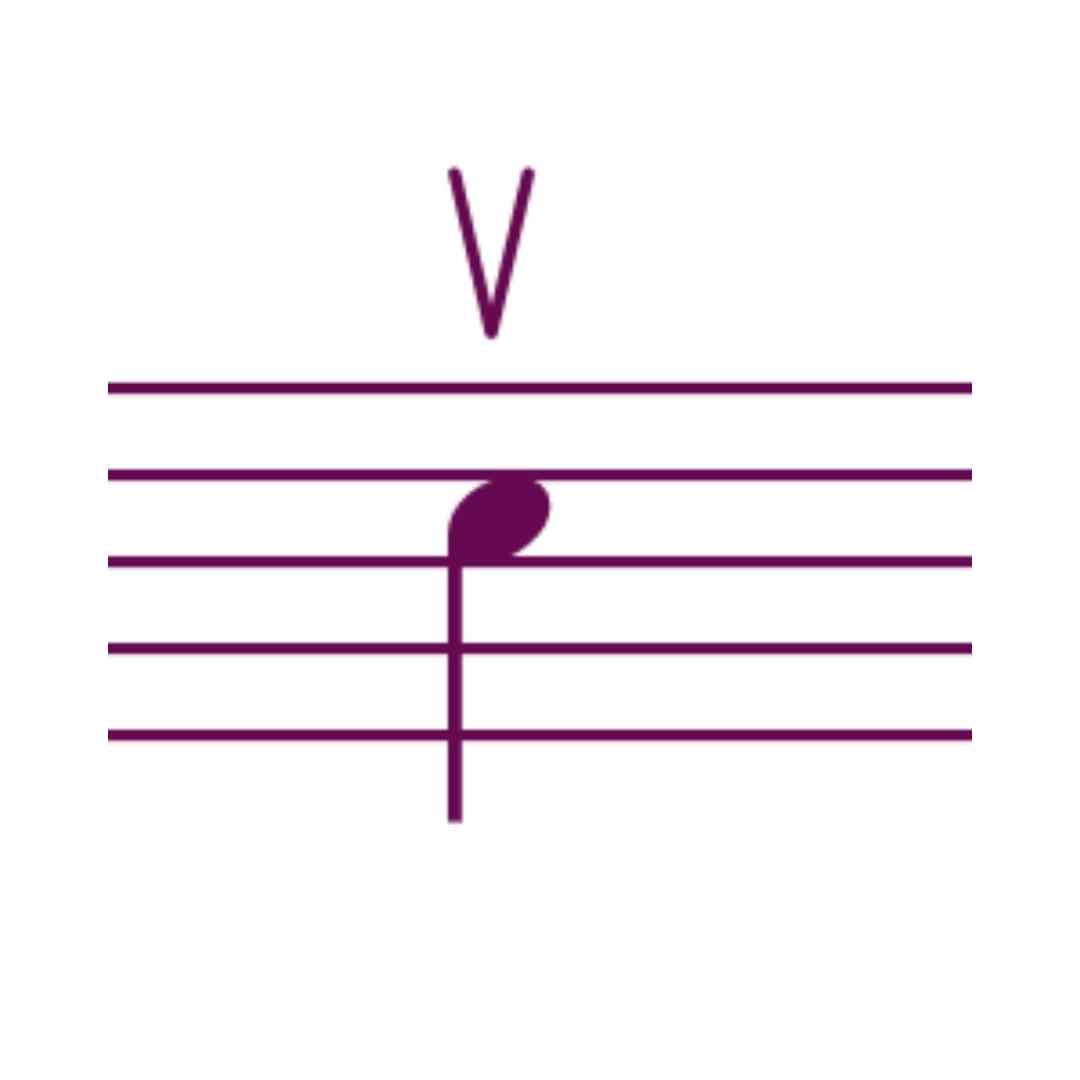
Bowing from the tip of the bow to the frog is called up-bow. If this is indicated in the sheet music, this is done by a V symbol resembling the pointy tip of the bow.
Default bow direction
When nothing else is indicated, we bow down up down up with one bow stroke per note. Usually a piece that begins on the first beat, is started down-bow.
Sometimes down-bow or up-bow is indicated in the sheet music, but it’s up to the player to write in extra bow directions. In this article I give you some pointers.
In an orchestra it’s usually the leader of the section (concertmaster for the first violinists for example) to determine the bow direction. In this way all bows move in the same direction.
Bow Changes
A bow change is the moment you move from down-bow to up-bow or the other way around. In smooth bow strokes like detaché, this should be seamless and the notes are played in their full length. In accented or jumping bow strokes like martelé and spiccato, the notes are not played in their full length and you hear a clear separation between the notes.
A typical beginner sound is caused by jerky bow changes. This can sound scratchy. The main cause of this is that the bowing is done wtih the arm and not with the wrist and fingers. Here’s a video lesson to learn smooth bow changes.
In smooth bowing with silent bow changes, there are three eight movements the violinist must make. Learn all about them in this video lesson.
Slurred Bowing
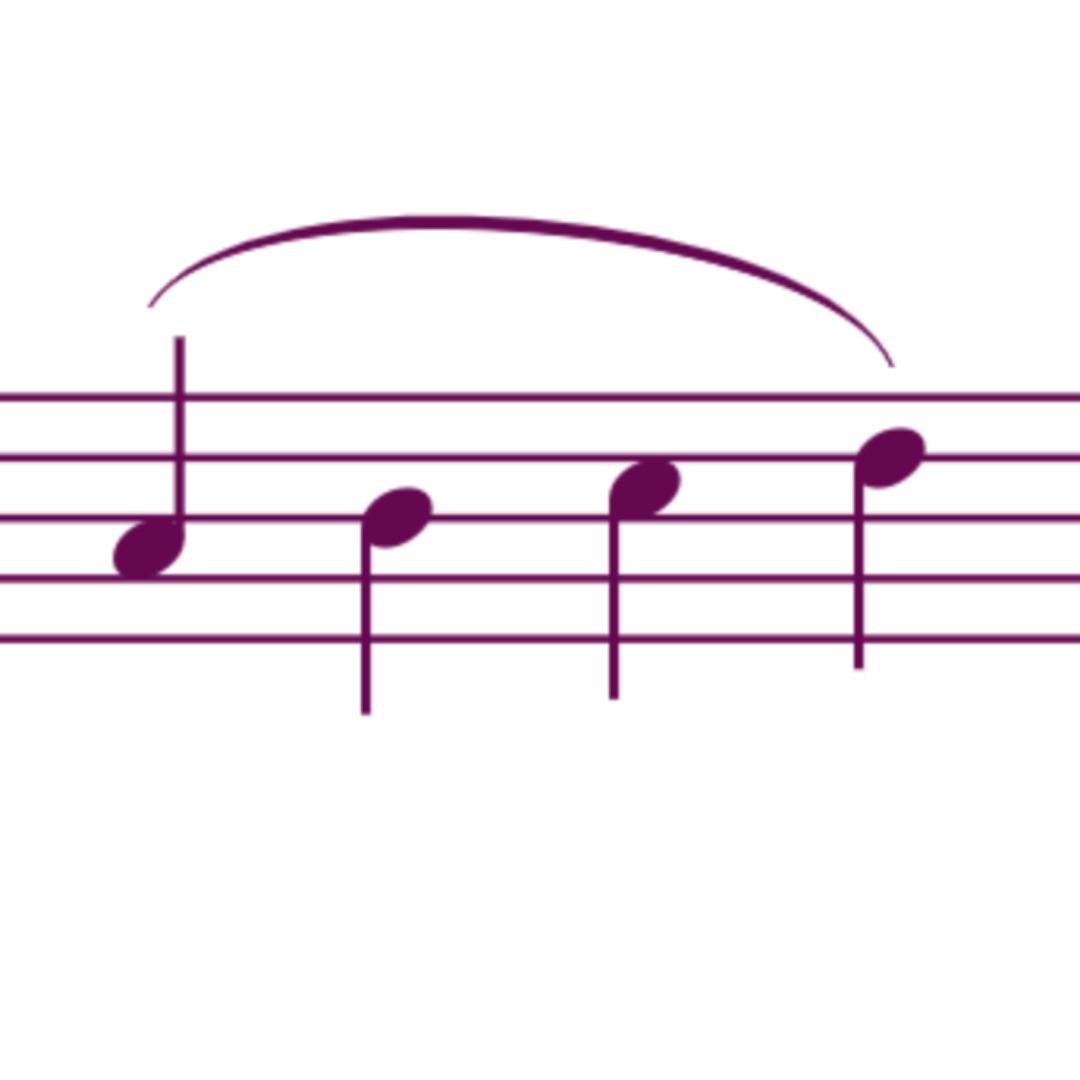
When you see an arch above multiple notes, on the violin they need to be played on one bow stroke. We call this bow technique legato. This creates smooth transitions between the notes.
String Crossing
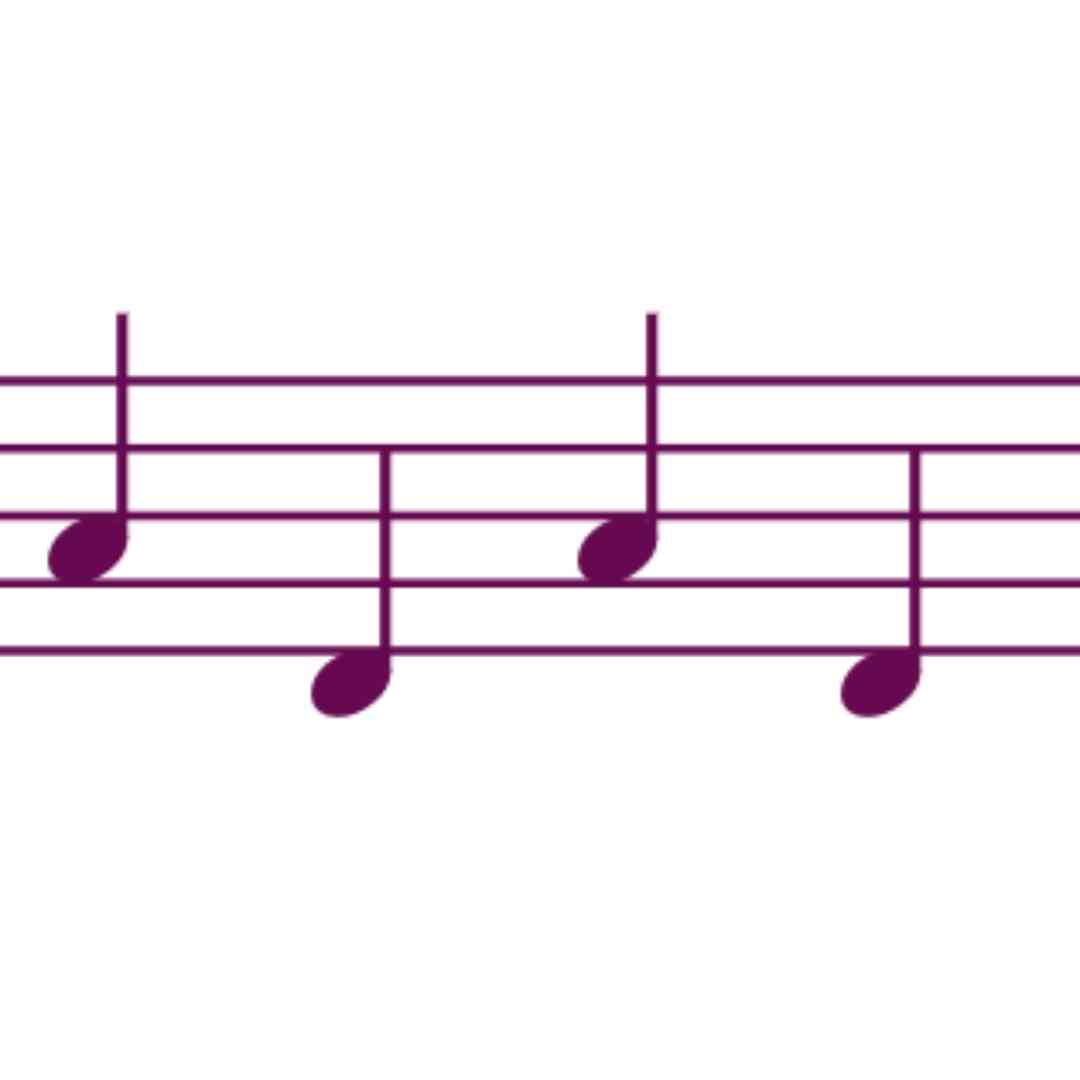
Crossing strings means that you go for example from playing on the A string to the D string. The first string crossing technique you learn is with the whole arm. As soon as you get fast string crossings going back and forth between two strings, you use your wrist and fingers as I explain in this video lesson.
String crossings can also skip strings, for example you can go from the E string to the G string. I explain the technique for crossings multiple strings in this video lesson.
Bow Division
The bow for a violinist is like the breath of a singer.
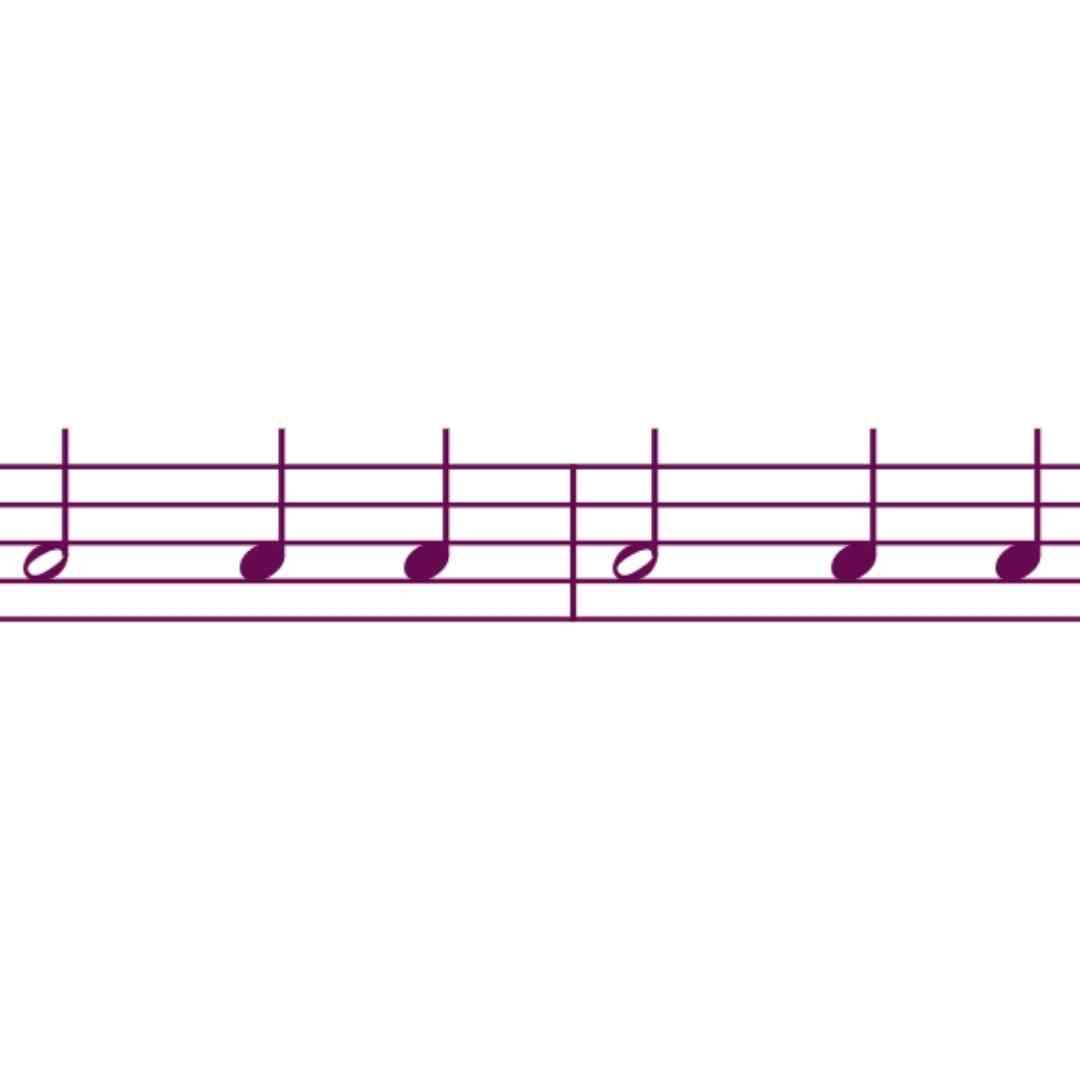
We don’t want to be out of breath and also not out of bow. That’s why we need to be economical about how much bow we use for the notes we play. In the example here you use whole bow for the half notes and half bow for the quarter notes. In this way you play the first two quarter notes with the upper half of the bow and the last two with the lower half of the bow.
The art of bow division is thinking about with which part of the bow you play a note and how much of the bow you use for certain notes. The goal is to make all notes sound good, make them sound long enough and play the surrounding notes well. The result is that you create the sound and expression you want.
Contact Point
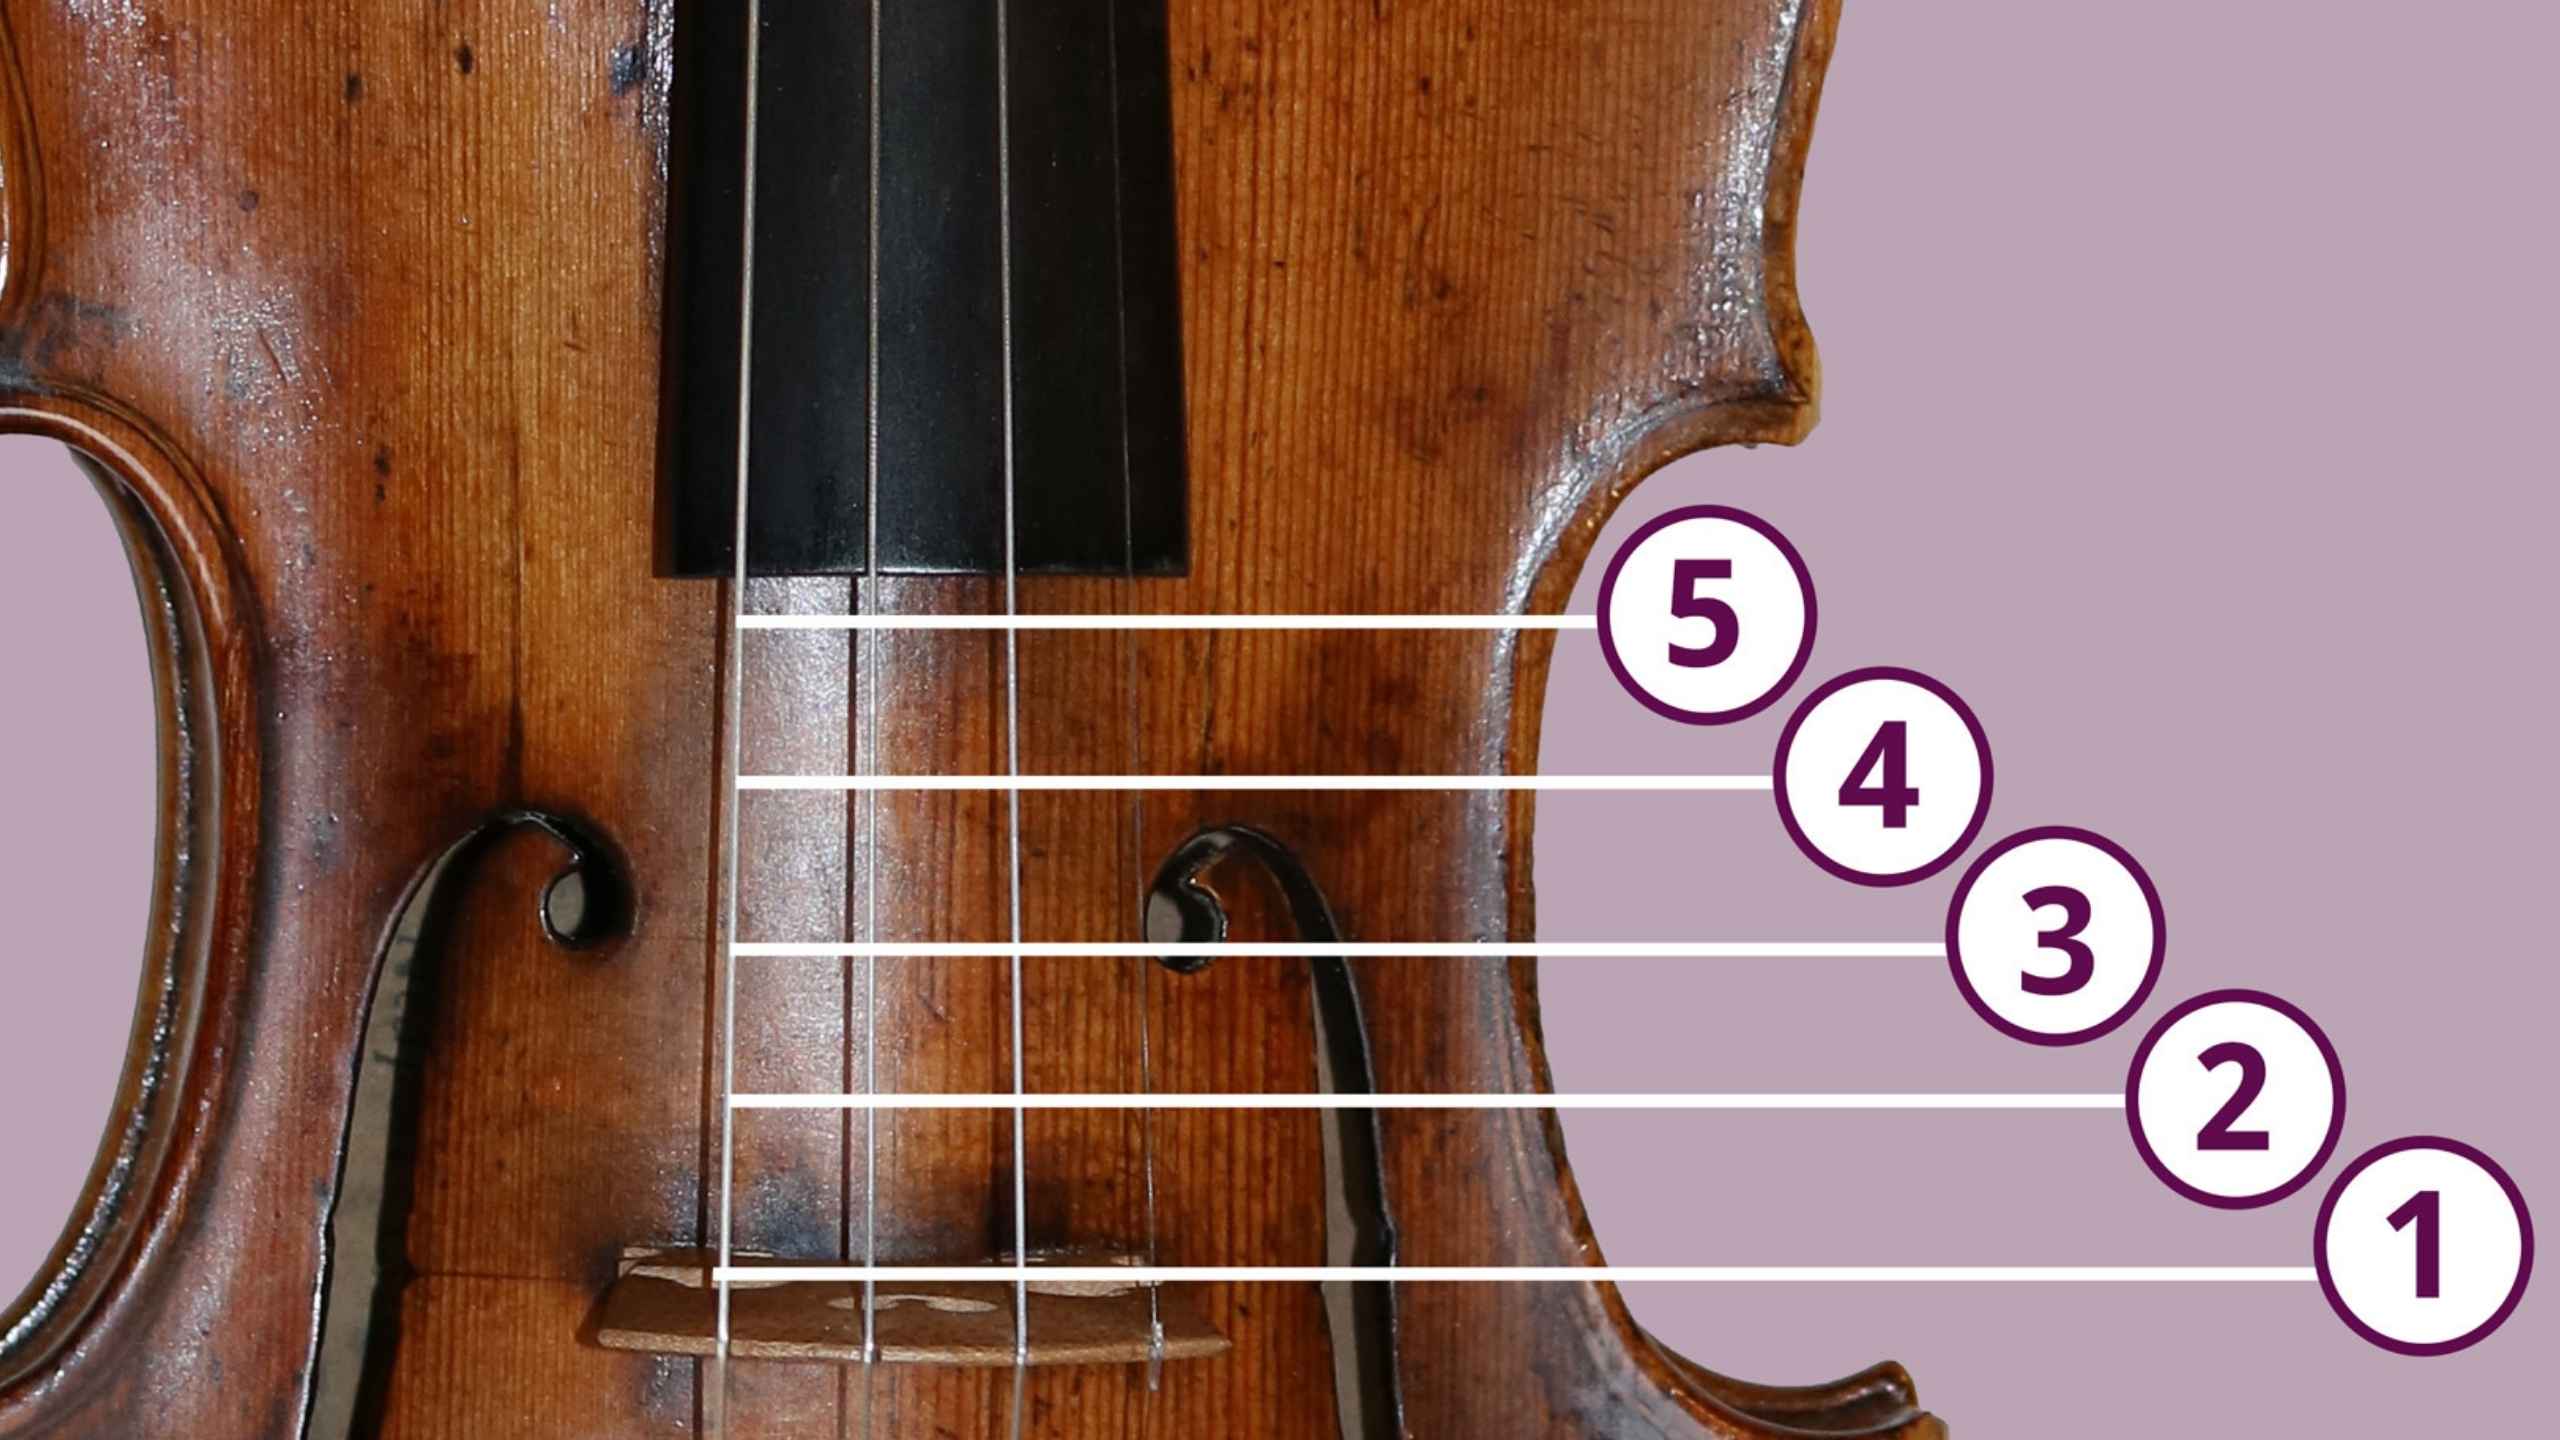
When you’re starting to learn the violin, your teacher will tell you to bow on the string exactly between the bridge and the fingerboard. This is the default point of contact. If you bow closer to the bridge, you’ll get a louder more glassy sound. If you bow closer the fingerboard you’ll get a softer more muffled sound. It’s also possible to bow on the bridge or above the fingerboard.
Once you’ve learned to stay on the default contact point consistently, you can expand your tools of expression by deliberately changing the point of contact. Learn all about contact points in this video lesson.
Finger Bowing
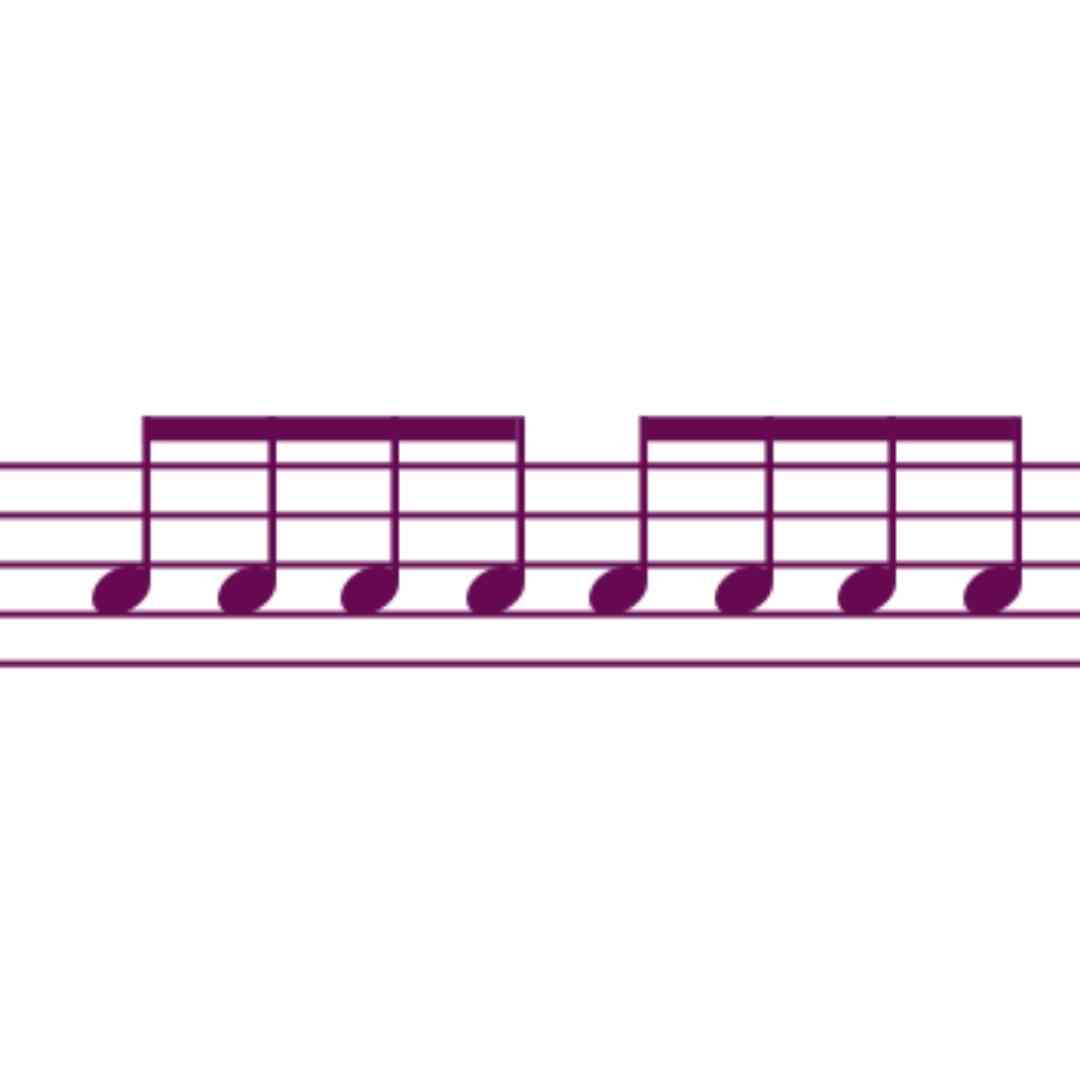
This is bowing by just moving your right hand fingers and without moving your wrist or arm. It can be seen as an exercise for smooth bow changes.
When we play we usually use a combination of arm, wrist and finger movements. Longer notes are played mostly with arm movement. Shorter and faster notes are played less with the arm and more with subtle wrist and finger motions.
Most beginner violinist first bow with just the arm, which is an easier movement. To learn to bow smoothly, get a resonant sound and play fast runs, it’s important to also learn the wrist and finger movements and this can be achieved by practicing finger bowing.
In very fast runs, finger bowing is also something we see in repertoire.
Tilted bowing:
Inversed bowing:
Bow Tilt
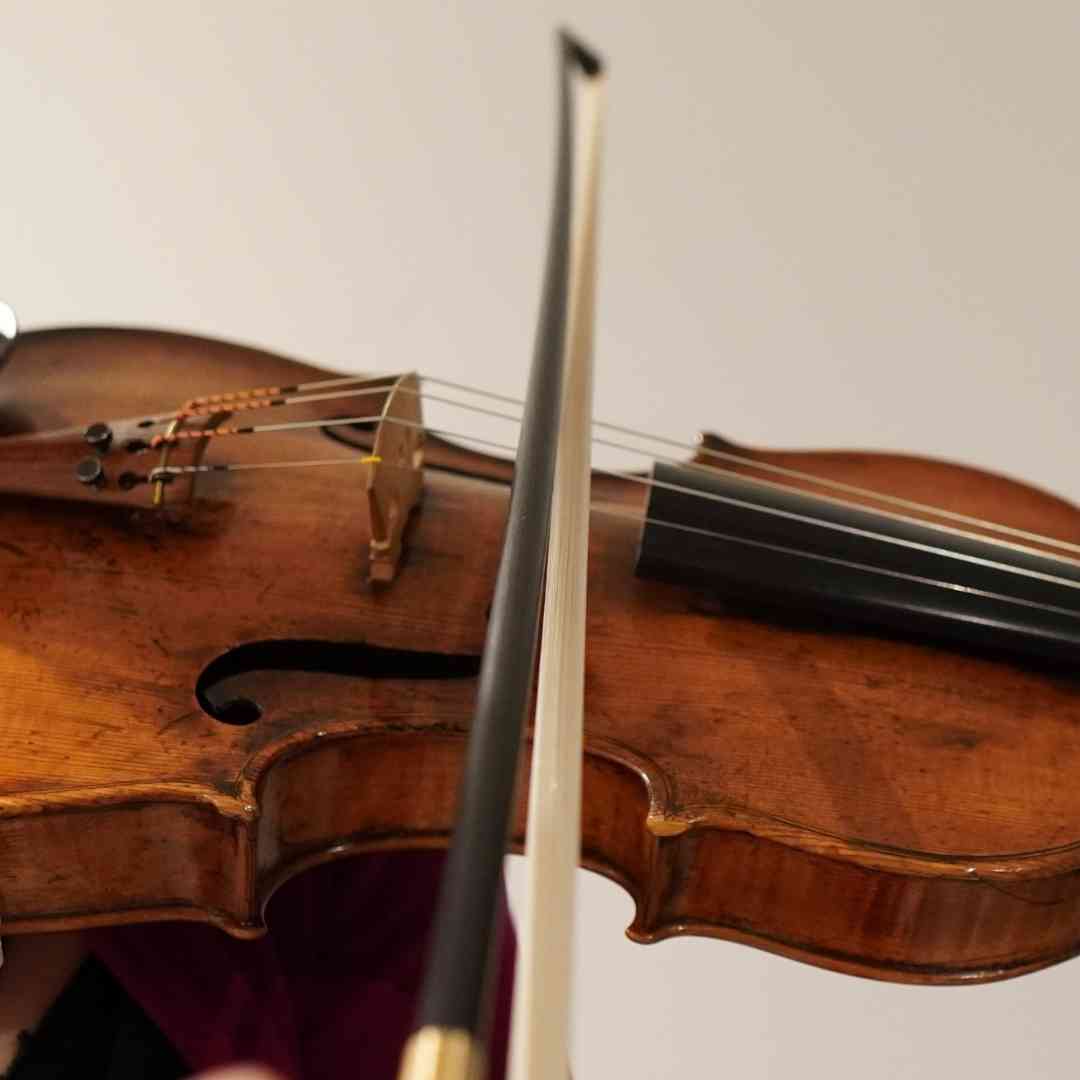
As a default when you bow on the violin, your bow should be straight on the string with the stick above the hair. Tilting the bow means that we tilt the bow in the direction of the scroll as shown in the picture. When you do this, you bow with the side of the hair and less hair touches the string.
Automatically you’ll get a softer sound. Tilting the bow is one of the four ways to play loud and soft on the violin (learn the other ways in this video lesson).
Lots of violin players tilt their bow slightly at the frog. When playing at the extreme frog, you’ll get a louder sound and possible scratches. By tilting the bow, you can make smooth bow changes at the frog. If you look closely at your bow, you’ll see that the bow hair is wider at the frog than at the tip. Tilting balances this out. Learn more about tilting the bow in this video lesson.
In spiccato tilting the bow softens the articulation and creates longer notes and a lower jump.
Inversed Bowing
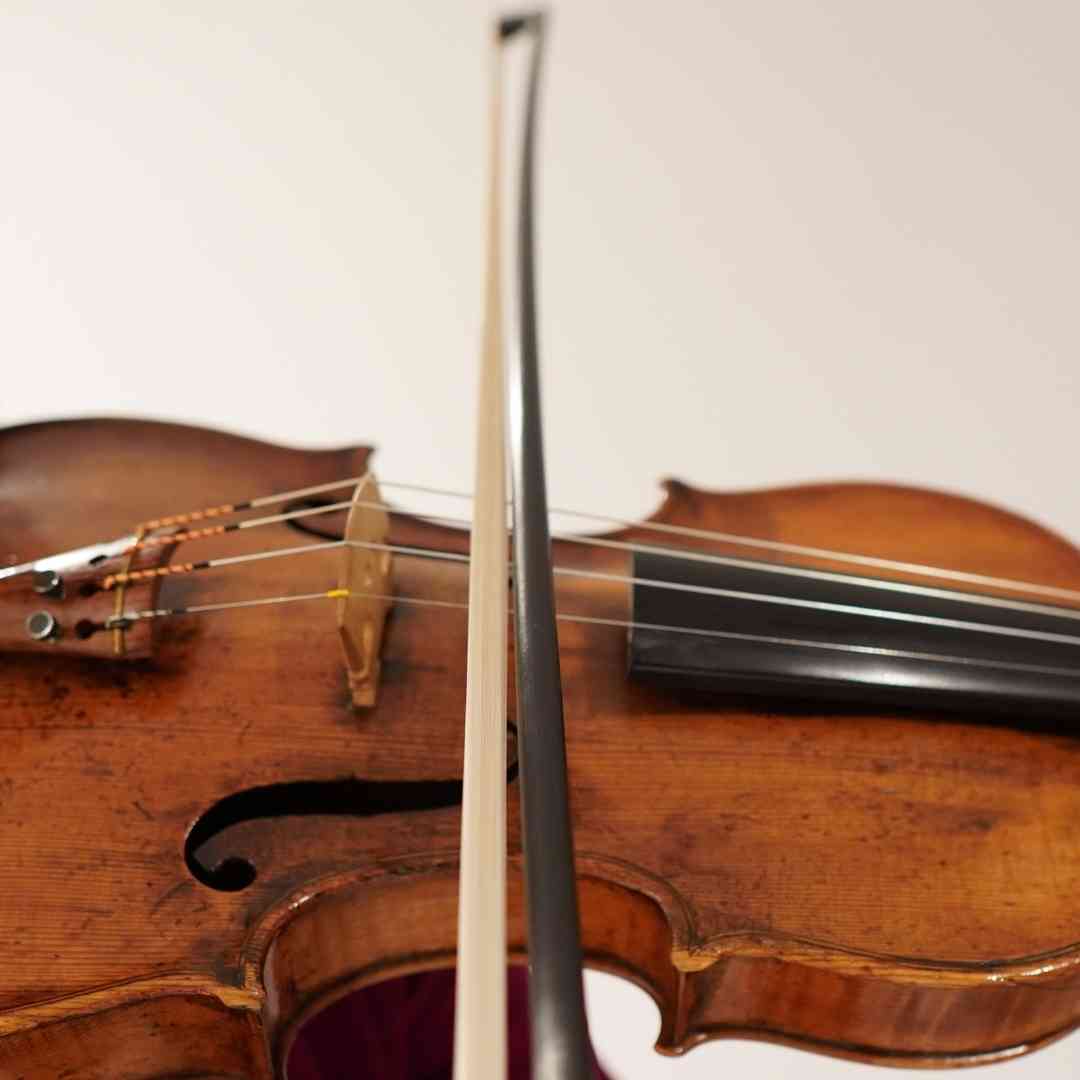
This is simply tilting the bow the other way around, so with the stick going in the direction of the bridge. For a violinist or a violist this is unusual, while for a cellist this is the standard way of tilting as their instrument is ‘upside down’.
The application when it comes to violin playing is very different. It relaxes the wrist and brings it to a low position. When applied in the middle of the bow with a contact point close to the fingerboard, it’s easy to play triple stops as in the opening op Bach Chaconne. However, this is not the standard way of most performers.
On the viola, where the distance between the strings is larger than on the violin, this technique can come in handy.
Slanted bowing:
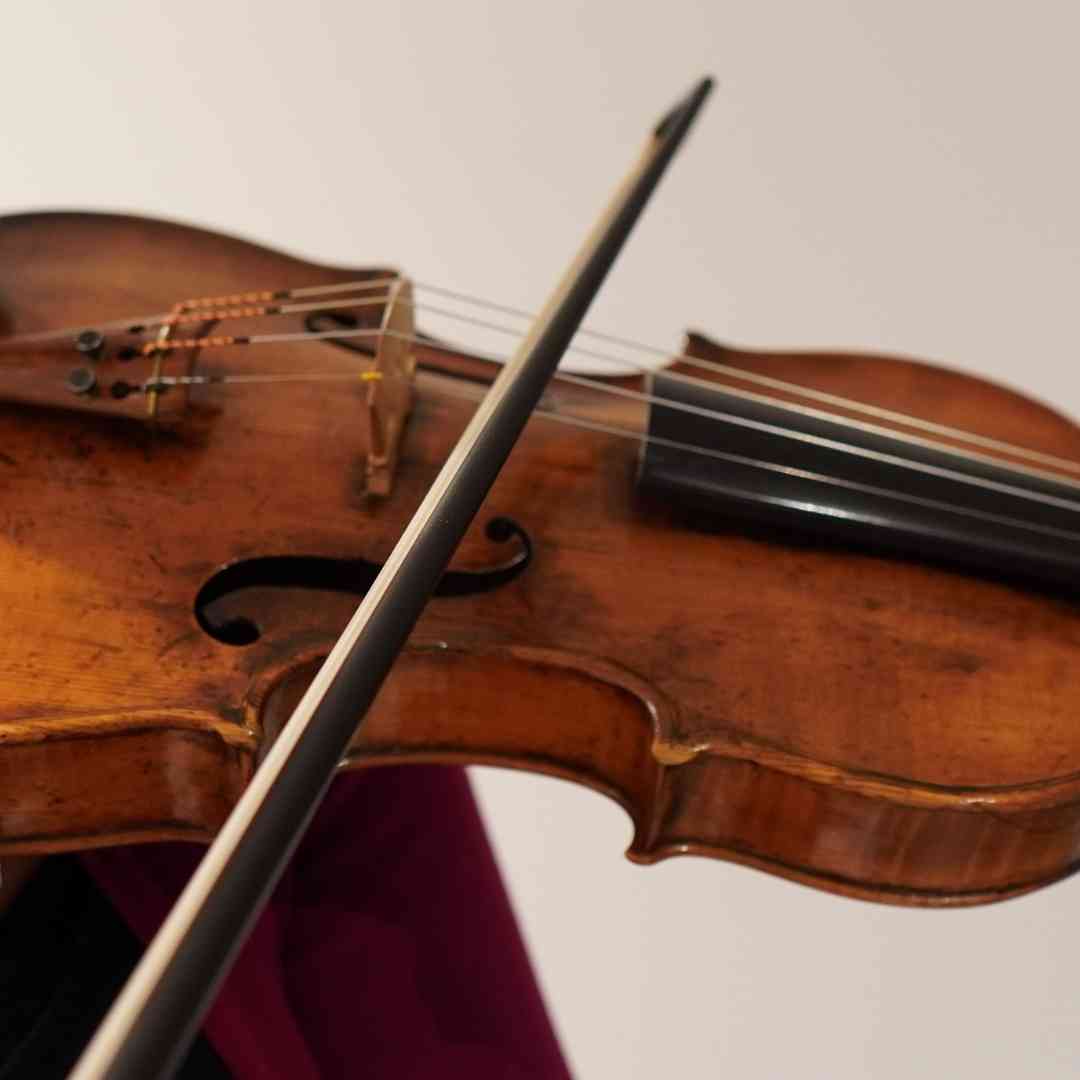
Bow straight
This means that at all times the bow is at a 90 degree angle towards the string. The bow moves parallel to the bridge. This is a big challenge for beginner violinists, but also more experienced players struggle with this. It creates an optimal sound.
Bowing straight might not feel straight as your arm naturally moves in a circle and you have to compensate with wrist and finger movements to make the bow go in a straight line. Read more about how to bow straight without looking in this article.
Slanted bow stroke
Do we always have to bow straight? No, says amongst others famous violin virtuoso Itzhak Perlman. However, as a beginner don’t use this quote as an excuse for crooked bowing ;). We must be able to bow straight and to slant where the music asks it.
When drawing a singing note at not too great a speed, the most resonant sound will be produced when the bow is at an extremely slight angle with the bridge. The point or tip of the bow is a little more towards the fingerboard, as shown in the picture. The angle should remain the same or can change to the other direction at the frog (‘banana bowing’ in a good way).
Let your ears guide you to determine when and how much to slant your bow. This differs based on your instrument, bow, playing technique and the musical circumstances. Experiment with it and you’ll discover differences in sound.
Retake your Bow
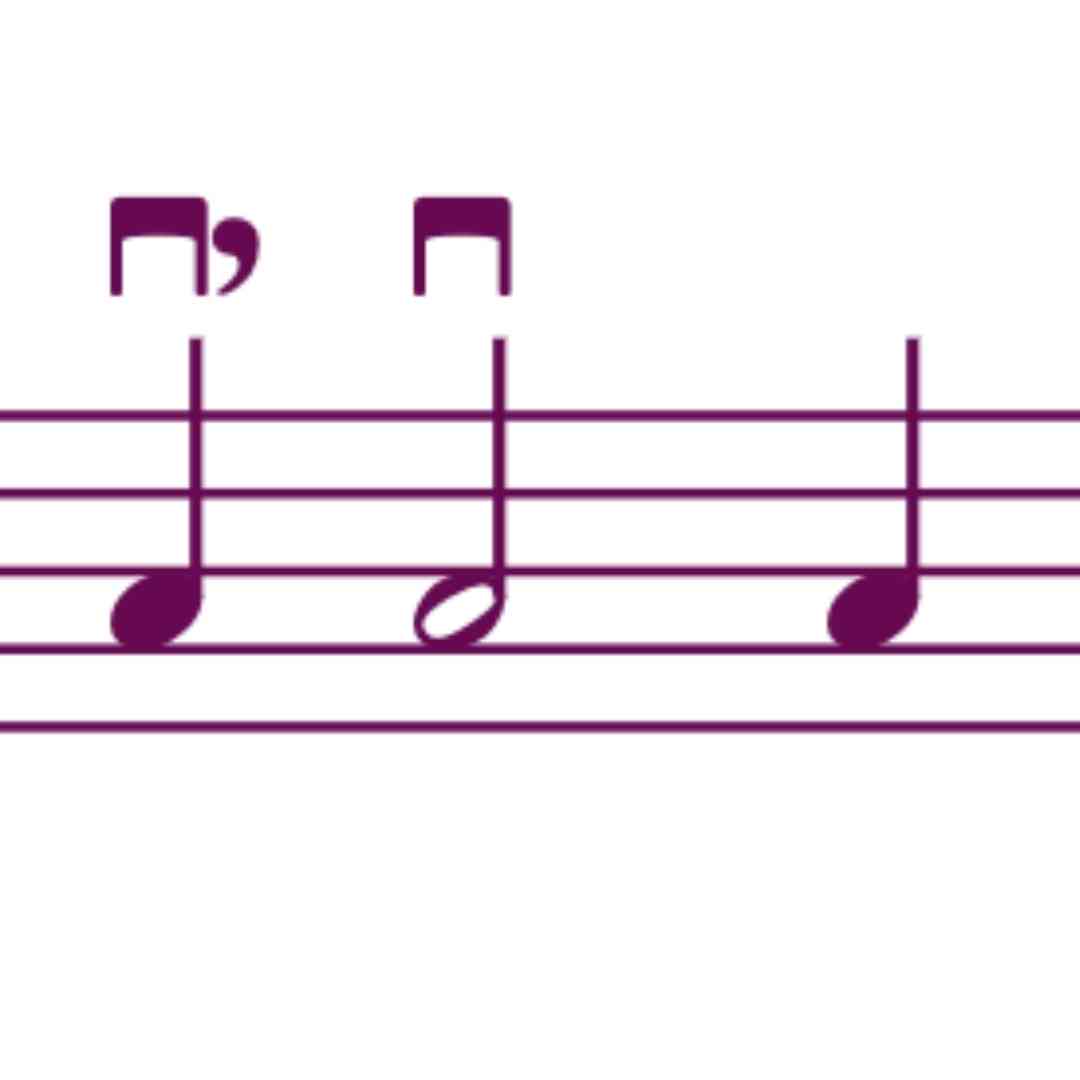
In some musical patterns, one has two notes to be played in the same bow direction at the same spot of the bow. See picture. In this case we play one note, lift the bow, put it back in it’s place and play the next note. This is called retaking the bow. In sheet music it’s not always indicated, but when it is we often see a comma.
Landing the Bow
As you retake the bow, the bow has to land on the string from the air without bounces or scratches. To achieve this, you need to let the bow land in a curve by moving your wrist and fingers. You can compare it to an airplane landing.
For the bow technique nerds: it’s an unfinished collé as we use this technique, but the bow stays on the string after a smooth landing.
Accents
There are several ways to clearly articulate the beginning of a note.
Explicit vs implicit accents
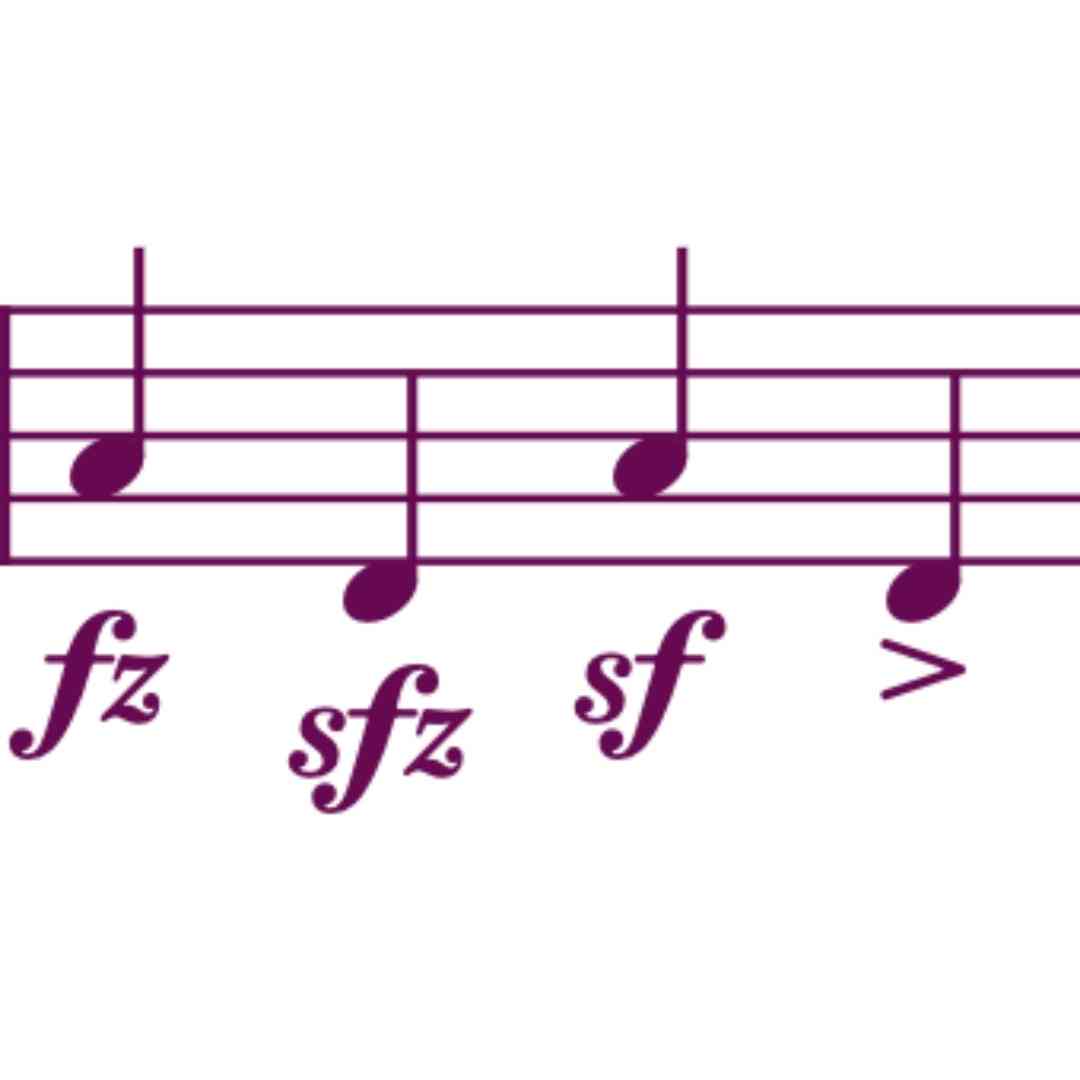
First of all there are explicit and implied accents. Explicit accents are indicated in the sheet music by one of the ways shown in the picture. It’s based on the preference of the composer or sheet music publisher to determine which one. They can all four mean the same.
Implied accents are not indicated in the sheet music, but are added to a note based on their more prominent placement, function or character in the music. Usually these accents are more subtle and discreet. You know when to play such an accent by:
- strategic placement within the measure or group of measures
- prominence of the note duo to a pivotal position in a melodic line or phrase
- role in a harmony
- derivation from trills or chords
- rhythmic tension
One needs to feel where to add this subtle accents.
Dynamic vs agogic accents
We hear an accent in music because of two things:
A sudden increase in volume is called a dynamic accent.
An agogic accent stresses a note by timing: you slightly delay or lengthen a note. Usually this technique is used in combination with the dynamic accent.
The technical execution of accents on the violin is done by a pinch with the index finger, sudden increase of bow speed or a vibrato accent. Learn all about how to play accents on the violin in this video lesson.
Bow Attack
This term might sound more exciting than it is: bow attack means simply how you start a note. This can be done in three ways with endless nuances in between them:
- Smooth and vowel like beginning of the note: for a smooth start it’s best to bring the bow to the string gently from the air when playing in the lower half of the bow. The bow must not drop vertically, but land smoothly. In soft dynamics start close to the string and use little bow hair (see tilting).
- Départ: clearly defined consonant-like attack: the bow stroke starts on the string with the same pressure and bow speed that will be used for the actual stroke. We want to create a distinct articulation without accent.
- Accented attack. We can turn a départ in an accent by adding bow speed right after the start of the note. Also we can start the note with more pressure than the actual stroke or maybe even a pinch by the index finger. This creates a martelé ‘click’. When an accent is started from the air, we call this a whipped attack. The accent can be enhanced by the use of vibrato. Learn how to play accents in this video lesson.

Thank you. Im really appreciate your help.
Glad it’s helpful 🙂
The way you explain bowing in such specific detail is much appreciated. Thank you!!
Happy you appreciate!
Fantastic
Glad you find it interesting, Yona!