20 Tips to NOT Hit Other Strings and Sound Scratchy on the Violin | Violin Lounge TV #377
Extensive violin lesson filled with tips and exercises to get you a great sound and avoid hitting extra strings:
Nr 1 reason for hitting other strings on the violin is that you don’t know the right arm position per string throughout the whole bow stroke
I’ll give you 6 exercises to tackle that before we go into the other tips.
This is the basic way of doing string crossings
As you advance, you can fast string crossings with your wrist and fingers.
I show you all these exercises in the video above!
#1 Explore the arm position per string in the Galamian square
This will get you familiar with the correct right arm position for each individual string
#2 Explore arm position at the frog and tip
Another big problem is that you mostly wander to the wrong string within one bow stroke. With this exercise you’ll discover that the string crossing movement is much larger at the tip and much smaller at the frog.
#3 Solidify the arm position by getting to know each pair of strings
Play GGDD DDGG etc with crossings strings at the frog.
#4 String crossing at each bow change
Play GDGD, DGDG etc with string crossings at each bow change
#5 Practice all this with slurs
In the video above I show you how to start with string crossings within the bow stroke, at each bow change and how to create your own exercises and variations.
#6 Explore all strings
Play GDAE and back with stops, first one note one bow stroke, after that in one bow stroke.
For all these exercises it’s important to do them even, rhythmically and controlled
The results you can expect depend on the quality of your practice.
Is this helpful? Support my work by sharing this on Twitter:
Improve your violin bowing technique
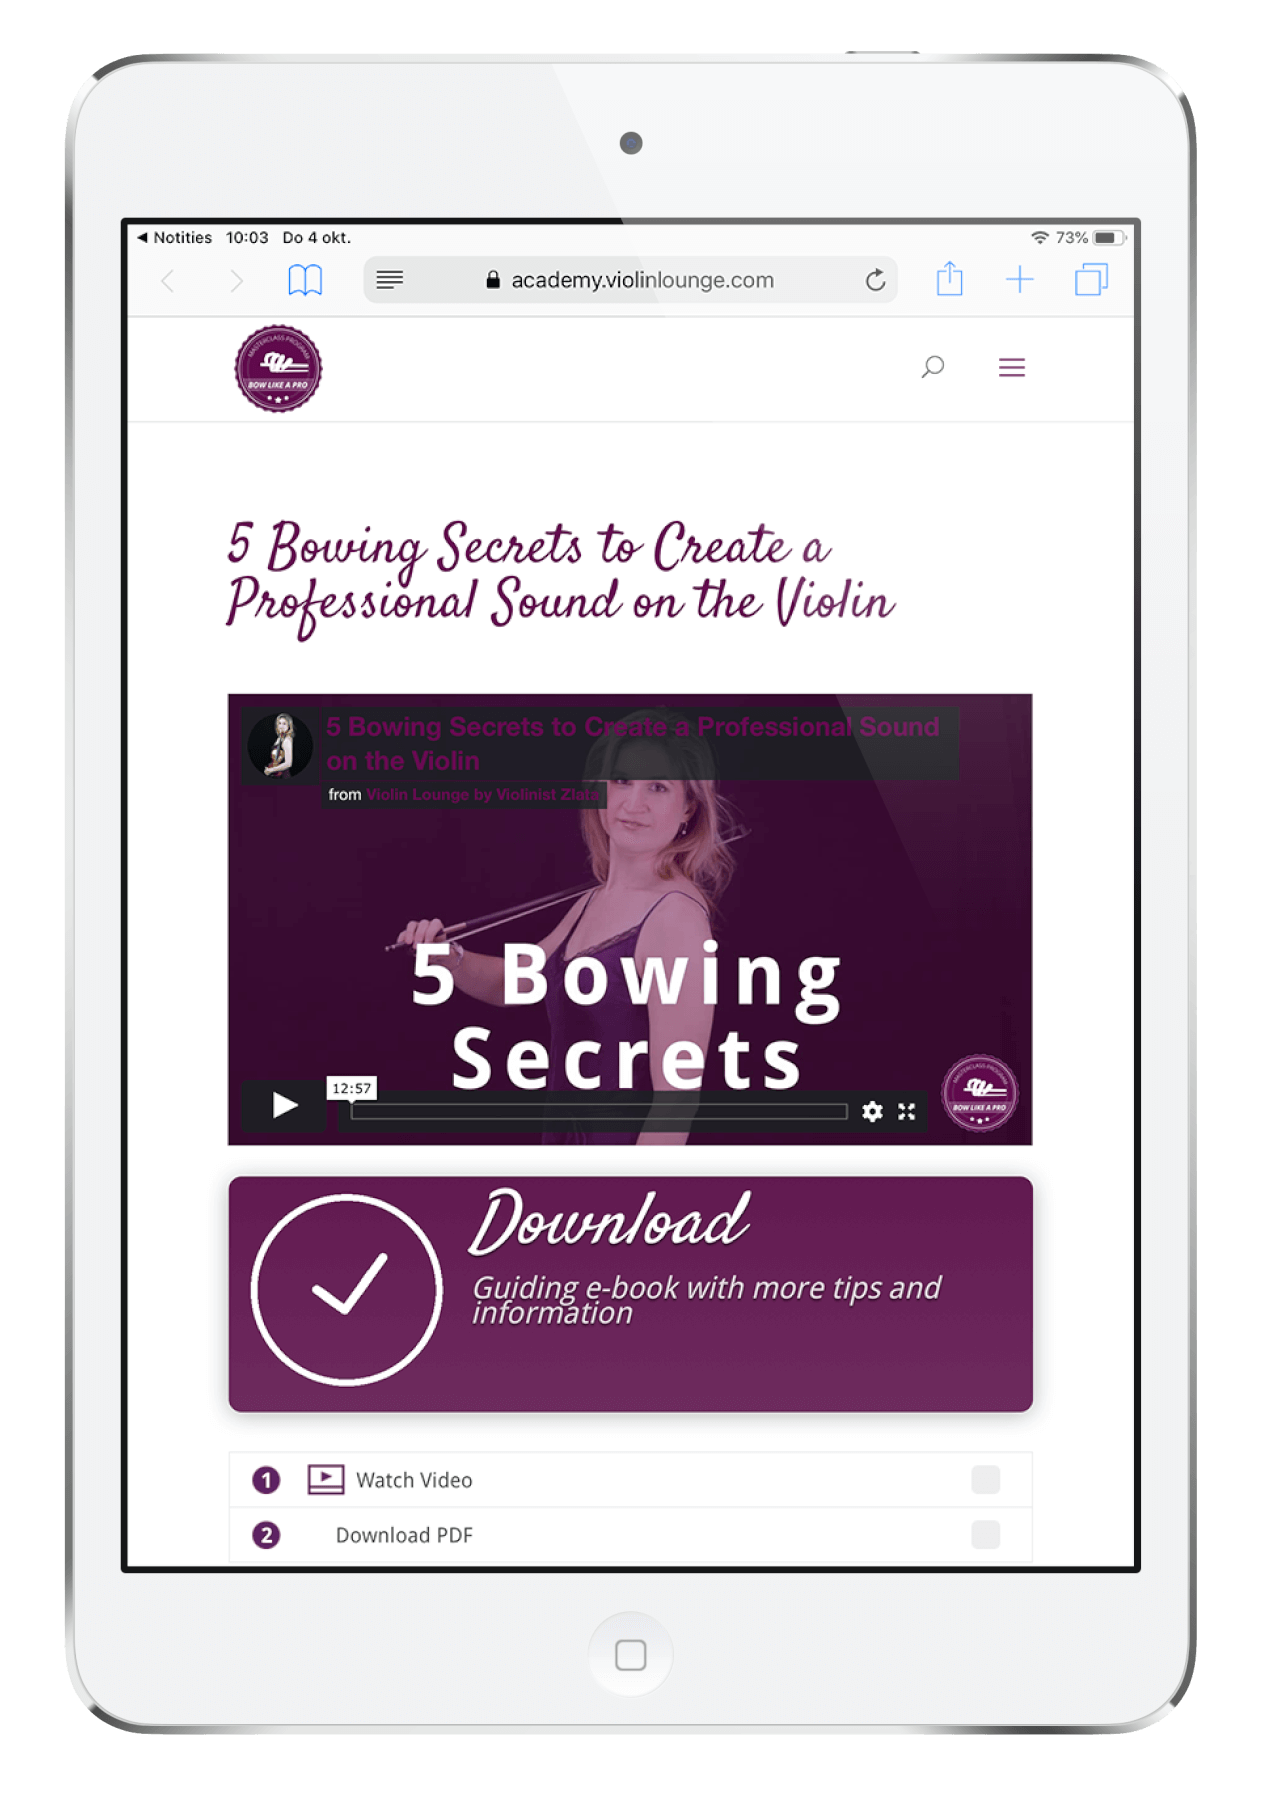
Enjoy my FREE mini Masterclass 5 Bowing Secrets to Create a Professional Sound on the Violin

Hi! I'm Zlata
Classical violinist helping you overcome technical struggles and play with feeling by improving your bow technique.
#7 Violin posture and angle of the violin
Your violin hold and bow should work together. There is a right and wrong way to play expressively with freedom of movement and I show the difference in the video.
Want to know more about violin posture from tip to toe and from all sides. Watch this video!
#8 Moving the violin
Maybe your posture is quite all right, but everything is wobbly and moving, causing you do loose balance.
#9 Wrist posture and freedom of movement in the bow arm
The position of your wrist and elbow are personal and can greatly influence your freedom of movement and sound. Discover what works best for you!
#10 Bow straight in front of the mirror
Yup, you know you have to bow straight and I know you know it… but still I see, even advanced, students run into problems because they’re not bowing straight. Check this on a regular basis.
#11 Not staying at the same contact point
Watch this video with my 3 exercises to automate smooth and straight bowing.
#12 Inconsistent bow speed
This is not something a lot of teachers talk about. An irregular bow speed causes scratches and general sloppiness in your sound and playing.
#13 Inconsistent weight in the bow
Adjust the weight you transfer from your arm through your index finger (pronation) into your violin to the place of the bow that touches the string. Avoid belly bowing: slowing down for each bow change causes un ugly sound and scratches.
These were the basics for accurate string crossings and a good sound, but the problem doesn’t have to be your playing. Here are some tips that relate to your violin and bow:
#14 Too much or cheap rosin
Rosin your bow around once a week. Click here to buy the rosin I use and recommend.
# 15 Dirty bow hair
Watch my video on how to clean your violin bow and it’s hair.
#16 Too much rosin on the strings and your violin
Clean your violin strings at least daily with a dry clean soft cloth.
To give your violin a thorough clean, use special cleaning fluid, like this one.
#17 Curve of the bridge… too flat?
The bridge of your violin should be curvy and fitted to the instrument by a good maker. A lot of cheap violins sold online don’t have a well fitting and playable bridge.
After some time one string could go a bit deeper into the bridge. You can temporarily solve it with a piece of cloth, but in the end you need to bring it to a maker for adjustment.
#18 Quality of your violin
Is it your violin? Sometimes it’s very tempting to think so. Just try out various instruments and see if your tone problems are suddenly solved.
Watch my beginner violin reviews right here to select a good violin for yourself.
#19 Quality of your bow
I often see that students have quite a decent violin, but their bow is so weak and wobbly that it’s impossible to create a good tone.
Download my guide to buying a violin bow right here to discover which bow is right for you.
#20 PRACTICE and patience
I notice that a lot of students, mainly adult beginners, spend a lot of time researching and watching YouTube videos, hoping to find that one magical trick that will instantly solve their problems.
Violin playing takes a lot of time and practice… slow practice… and a lot of patience.
I recommend my private students to spend at least 15 minutes a day purely on bowing and sound practice, before they even dive into their scales, etudes and pieces.
Let me know which tip works best for you in the comments below!
16 Comments
Trackbacks/Pingbacks
- 13 Hacks to AVOID a WHISTLING E String on the Violin | Violin Lounge TV #399 - Violin Lounge - […] This video with 20 tips to not hit other strings and sound scratchy on the violin might be useful…
- Learn VIOLIN Lesson 25: La Vie en Rose by Edith Piaf EASY Violin Tutorial - Violin Lounge - […] 20 Tips on string crossings and not hitting other strings in general […]
- FREE Violin Lesson #3 for Beginners | SMOOTH BOWING - Violin Lounge - […] Watch this lesson about not hitting other strings and sounding scratchy. I’m sure it will benefit your playing! […]
- FREE Violin Lesson #5 for Beginners | WHOLE BOW - Violin Lounge - […] Watch this lesson about not hitting other strings and sounding scratchy. I’m sure it will benefit your playing! […]
- FREE Violin Lesson #7 for Beginners | STRING CROSSING - Violin Lounge - […] Watch this lesson about not hitting other strings and sounding scratchy. I’m sure it will benefit your playing! […]
- 5 LEVELS of VIOLIN BOW TECHNIQUE: beginner to pro sound quality | Violin Lounge TV # 418 - Violin Lounge - […] you’re still hitting some wrong strings and sounding scratchy from time to time. Watch this video with 20 tips…


Hi Zlata, All good tips. This sort of is a summary of your “Bow like a Pro” course. It puts most of it together as a high level overview of the stuff needed to play the violin correctly.
Glad to read that, Bonny!
My appreciation, teacher Zlata.
Many thanks and stay safe always.
Thanks, Felix!
Excellent.
Glad it’s helpful!
Very helpful, thanks! Yes, I tend to over-research topics about violin playing online
Great insight!
These 20 tips are excellent. It is very helpful to do these bowing exercises in front of a mirror as suggested without music. Then playing repertoire is much smoother.
Congrats on your progress!
Zlata,
Thank you for these tips and exercises! I have made a 1-page summary and taped it up next to the mirror in my bedroom. I plan to spend 15 or so minutes a day on them. I have no doubt my technique will improve over time.
I wonder if you can address one problem I have. The first note in a tune, or the first not after a rest, doesn’t come out clean. There might be a bounce or a scratch as I get the bow started. What do I do about that? It’s awful for the first note I play to sound so bad!
Wow, great work, Claudia! Do you start that note on the string or off the string? And where on the bow do you start that note?
Great tips, Zlata!
Tip number 20 is in my opinion the most important. I took up the violin because I love the sound, and I hear that sound when I practice. Though much practice involves technique, if it doesn’t sound good, the technique is probably wrong. I have placed my violin where I can pick it up and play, if even for just a few minutes.
I appreciate you and your willingness to share your experience and training.
I’m glad you appreciate, Larry!
I paid $111 a few weeks ago for lessons and have ot received ay linc to lessons or anything. I think the olly lessons I am getting are the free ones. Can you help me with this.
Bob Short
bshort7@gmail.com.
512-922-4294
Just sent you an e-mail.